Zabbix is an incredible free tool to monitor your Network devices and maintain infrastructure health. After i recently did Zabbix installation on an Ubuntu server in my company, it has led to significantly streamline our network management. In this step-by-step guide, I’ll walk you through how to install Zabbix on Ubuntu Linux, ensuring a smooth setup process for effective monitoring.
Pre-requisite- Ubuntu Linux
Here’s the step by step
1. Visit- https://www.zabbix.com/download Select the options appropriate for your OS. I selected below and once these are selected you will see a step by step things to do.

2. Install and Configure Zabbix
a. Install Zabbix Repository
Open terminal and enter below commands. If you face permission issue type sudo before the command and give password. You can also type sudo -I, this will enable root access and then you won’t have to type sudo before admin commands
# wget https://repo.zabbix.com/zabbix/6.2/ubuntu/pool/main/z/zabbix-release/zabbix-release_6.2-2%2Bubuntu22.04_all.deb
# dpkg -i zabbix-release_6.2-2+ubuntu22.04_all.deb
# apt update
b. Install Zabbix Server,
Frontend and Agent (we are installing everything on the same server)
# apt install zabbix-server-mysql zabbix-frontend-php zabbix-apache-conf zabbix-sql-scripts zabbix-agent
c. Create Initial Database
# mysql -uroot -p
<type the password as>password
mysql> create database zabbix character set utf8mb4 collate utf8mb4_bin;
mysql> create user [email protected] identified by ‘password’;
mysql> grant all privileges on zabbix.* to [email protected];
mysql> set global log_bin_trust_function_creators = 1;
mysql> quit;
Import Initial Schema and Data. You will be prompted to enter the password created on “mysql -uroot -p” above
# zcat /usr/share/zabbix-sql-scripts/mysql/server.sql.gz | mysql –default-character-set=utf8mb4 -uzabbix -p zabbix
This command will take time to execute, so wait for it to run and only then go for the next step.
Disable log_bin_trust_function_creators option after importing database schema.
# mysql -uroot -p
<type the password as>password
mysql> set global log_bin_trust_function_creators = 0;
mysql> quit;
d. Configure the database for Zabbix server
Edit file /etc/zabbix/zabbix_server.conf by typing below commands
#nano/etc/zabbix/zabbix_server.conf
Scroll down to line DBPassword=password and uncomment it- Ctrl+X to save it
e. Start Zabbix server and agent processes
# systemctl restart zabbix-server zabbix-agent apache2
# systemctl enable zabbix-server zabbix-agent apache2
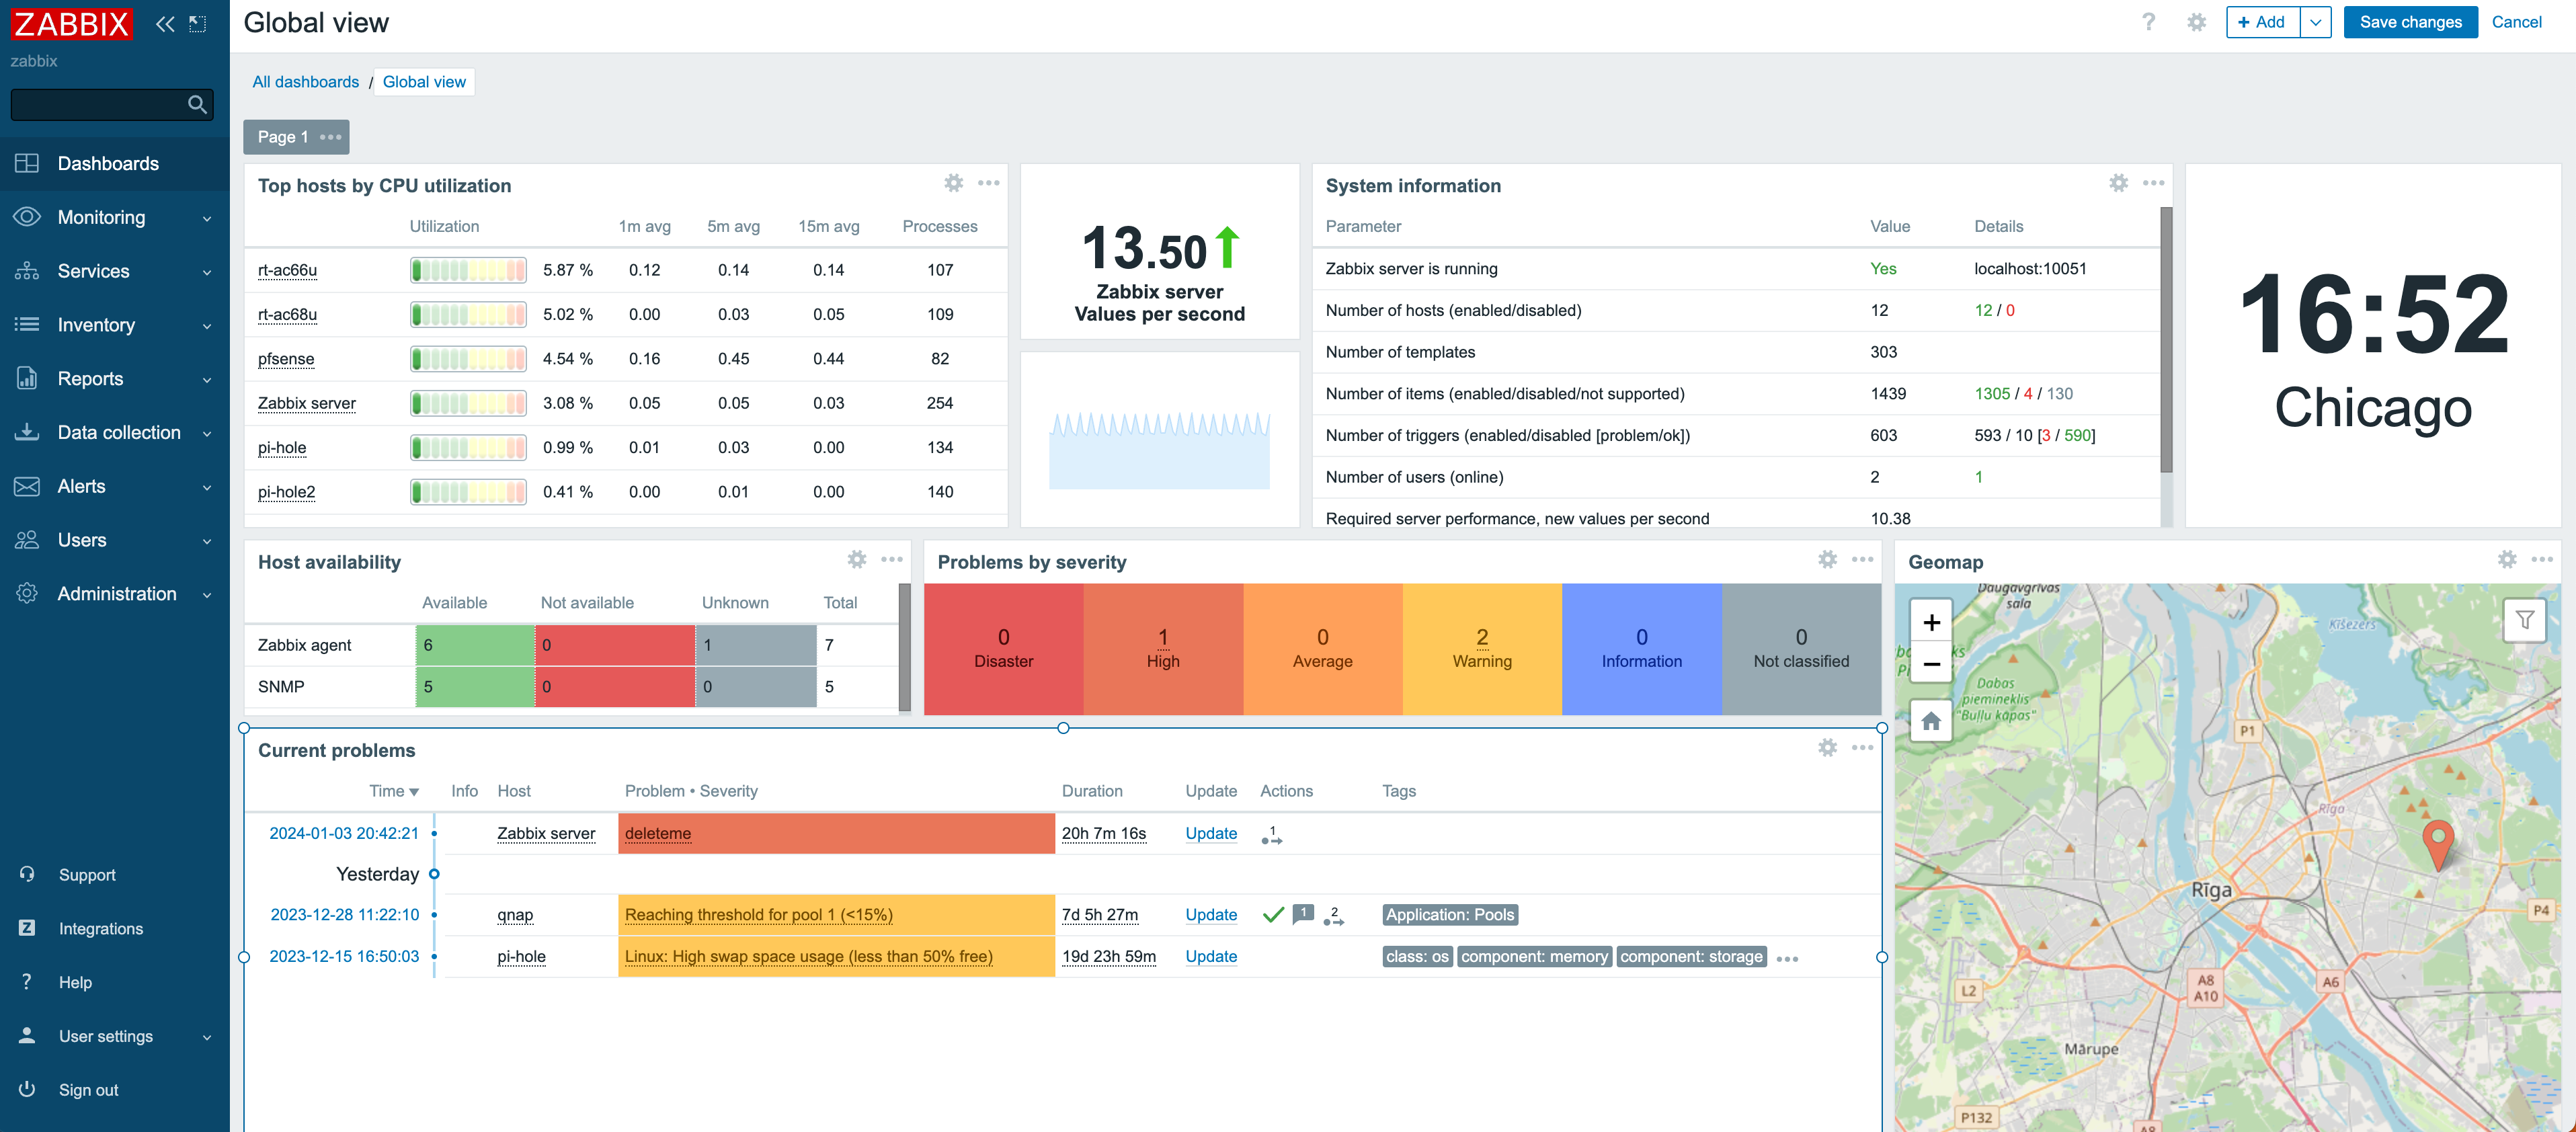
Start using Zabbix by opening the browser and type http://ip address/Zabbix. This will open the initial
Zabbix setup. Once this is done, login to Zabbix by entering below credentials
Username- Admin, Password- password
Useful MySQL commands for troubleshooting
| Description | Command |
| To login (from unix shell) use -h only if needed. | [mysql dir]/bin/mysql -h hostname -u root -p |
| Create a database on the sql server. | create database [databasename]; |
| List all databases on the sql server. | show databases; |
| Switch to a database. | use [db name]; |
| To see all the tables in the db. | show tables; |
| To see database’s field formats. | describe [table name]; |
| To delete a db. | drop database [database name]; |
| To delete a table. | drop table [table name]; |
| Show all data in a table. | SELECT * FROM [table name]; |
| Returns the columns and column information pertaining to the designated table. | show columns from [table name]; |
| Show list of users | SELECT User, Host FROM mysql.user; |
| Delete a user | DROP USER ‘username’@’host’; |
| Delete multiple users | DROP USER ‘user1’@’localhost’, ‘user2’@’localhost’, ‘user3’@’localhost’; |
Some useful links

One thought on “Zabbix Installation Guide for Ubuntu: Monitor Your Network Free”